
Catalogue — Categories, products, images and stock
WordPress & WooCommerce tutorial
Connect WordPress and WooCommerce to SellViaApp, step by step.
Install the official plugin, connect your SellViaApp access, publish the catalogue, synchronise customers and retrieve mobile orders.
✓ WordPress 5.7+✓ WooCommerce 5.2+✓ PHP 7.2+
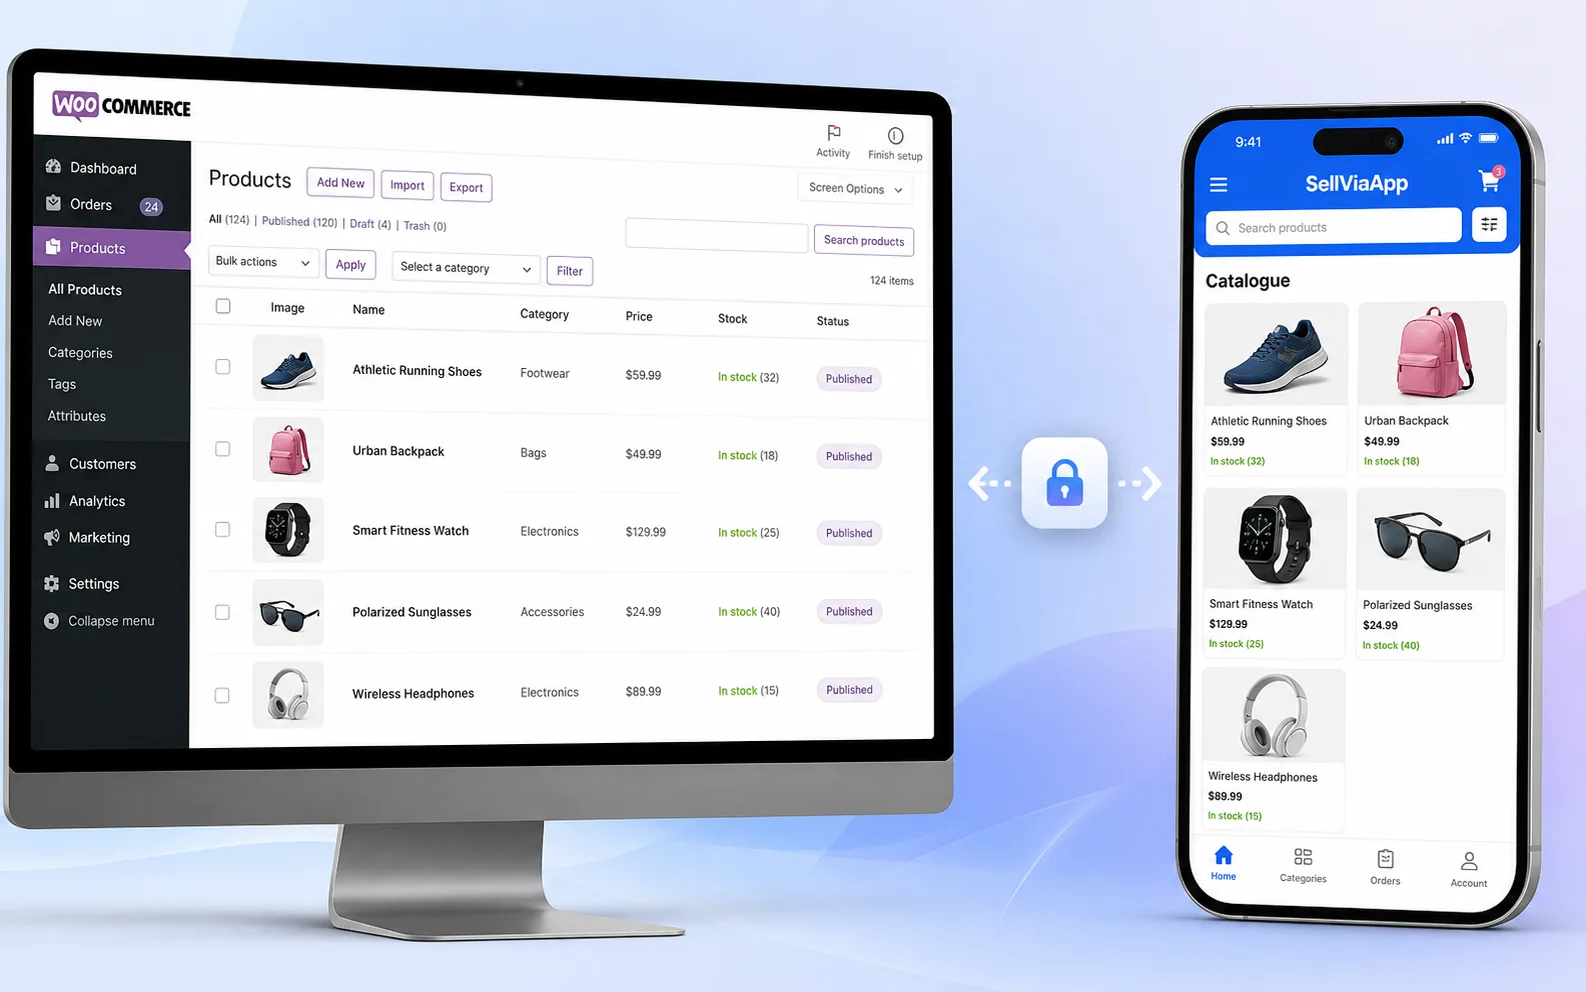
WordPress / WooCommerce × SellViaApp
At the end of this guide
Customers — Accounts and profiles synchronised
Orders — Manual or automatic import
Acknowledgement — An order is confirmed only after it is actually created.
Prepare your accounts
WordPress 5.7+, WooCommerce 5.2+ and PHP 7.2 or newer, including PHP 8.x. An API key and supplier integration token are generated from your SellViaApp dashboard.
What to do
- Creation is free, with no credit card and a 7-day trial.
- WordPress 5.7+, WooCommerce 5.2+ and PHP 7.2 or newer, including PHP 8.x. An API key and supplier integration token are generated from your SellViaApp dashboard.
- Create a recent backup before adding or updating a production plugin.
Check before continuing
Both administrations are accessible and the required store module is active.
Install the connector
SellViaApp for WooCommerce is officially approved and published in the WordPress.org plugin directory. Install it directly from your WordPress dashboard or view its official listing.
What to do
- In WordPress, open Plugins → Add New.
- Search for “SellViaApp for WooCommerce”, then install and activate it.
- Open the SellViaApp connector page from the WordPress administration.
Check before continuing
The connector page opens without an installation warning.
Connect SellViaApp securely
Add the API key and secure token generated in Dashboard → API.
What to do
- Add the API key and secure token generated in Dashboard → API.
- Keep API keys and integration tokens private. Never paste them into a support message or screenshot.
- The plugin follows WooCommerce CRUD APIs, encrypts credentials inside WordPress and validates signed webhooks before any action.
Check before continuing
The connector shows a connected and authenticated state.
Publish the catalogue
The connector sends far more than a name and price. It builds a rich, usable catalogue inside SellViaApp.
What to do
- Categories, products and customer accounts are sent in batches. No customer email is sent.
- Categories and subcategories
- Up to five images per product
Check before continuing
The expected categories, products, images, prices and stock are visible.
Synchronise customer access
Accounts and profiles synchronised
What to do
- Customer accounts synced without email
- Start with one test customer who has a valid email address before sending a larger selection.
- Confirm the synchronisation status in the connector: creating access does not automatically send a SellViaApp email.
Check before continuing
The test customer is visible once, with the expected mobile access state.
Keep changes up to date
A price or stock change does not require resending the whole catalogue. Changes are queued and processed in small batches.
What to do
- A price or stock change does not require resending the whole catalogue. Changes are queued and processed in small batches.
- Open the connector queue or history and confirm that no item remains blocked.
- Enable the proposed scheduler only after the first manual synchronisation succeeds.
Check before continuing
A recent change is processed once and the queue returns to idle.
Bring mobile orders back
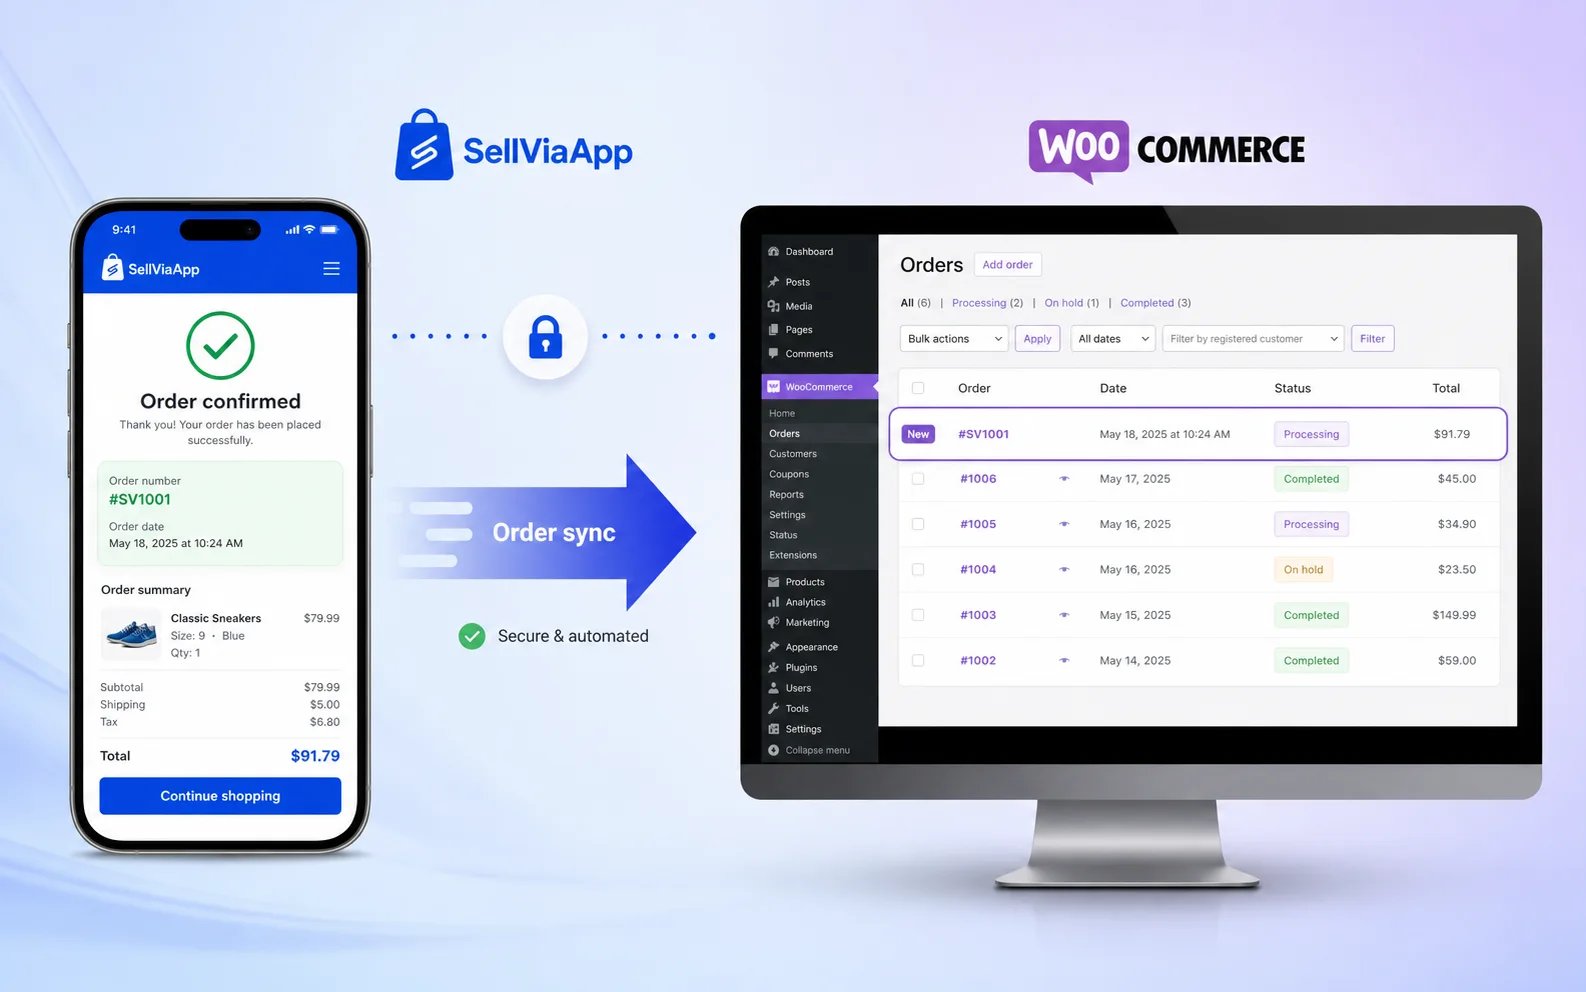
Each SellViaApp order has a unique identifier. The plugin checks local history, creates the order through official WooCommerce APIs and then confirms the import to SellViaApp.
What to do
- Import them on demand or automatically into WooCommerce.
- Manual for full control or automatic at your chosen frequency.
- An order is confirmed only after it is actually created.
Check before continuing
The confirmed order exists once in WooCommerce and is acknowledged in SellViaApp.
Run a complete mobile test
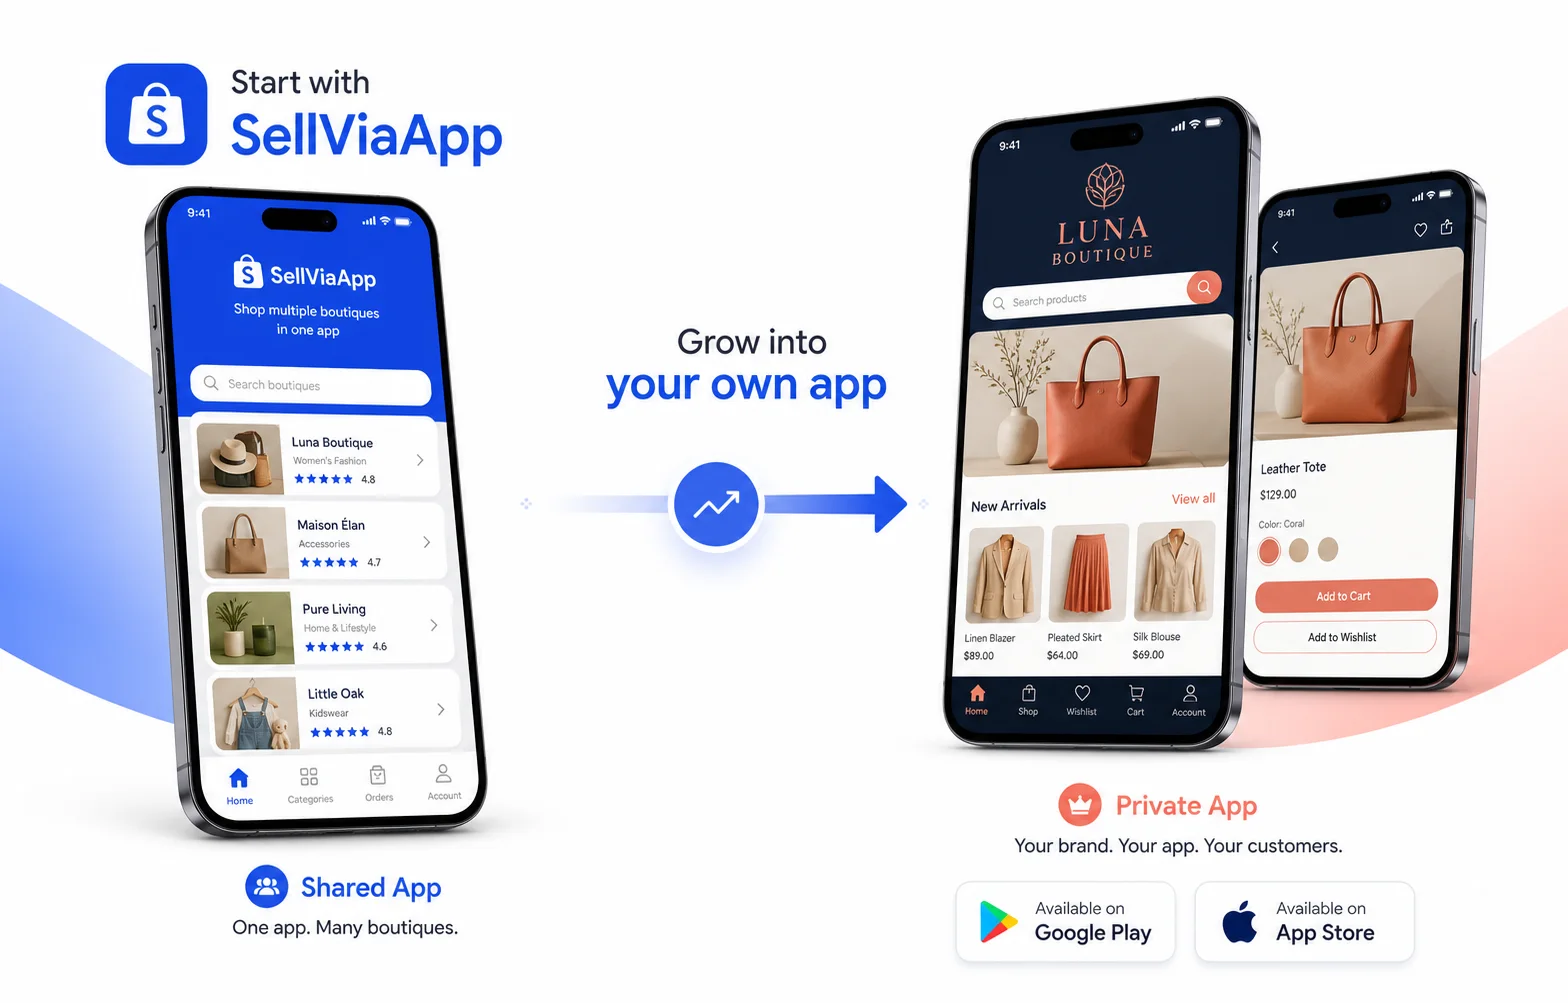
Create your app for free, install the plugin and bring your catalogue to customers on Android and iOS.
What to do
- Install or open SellViaApp on Android or iOS.
- Open the connected provider and sign in with the test customer.
- Check the catalogue, product details, price and stock from the phone.
Check before continuing
The complete journey works from the store to the phone.
Good to know
Fast troubleshooting
The connector cannot authenticate
Regenerate the SellViaApp integration access, copy it without spaces and verify the site can reach SellViaApp over HTTPS.
Some products are missing
Check that they are published, visible and saleable. Then run a targeted catalogue synchronisation.
Stock or prices are old
Check the queue and scheduler, then send one manual update to confirm the connection.
An order is not imported
Only confirmed mobile orders are imported. Review the local history and retry the deliberate import action.
WordPress / WooCommerce × SellViaApp
Your WooCommerce shop can become mobile today.
Create your app for free, install the plugin and bring your catalogue to customers on Android and iOS.